
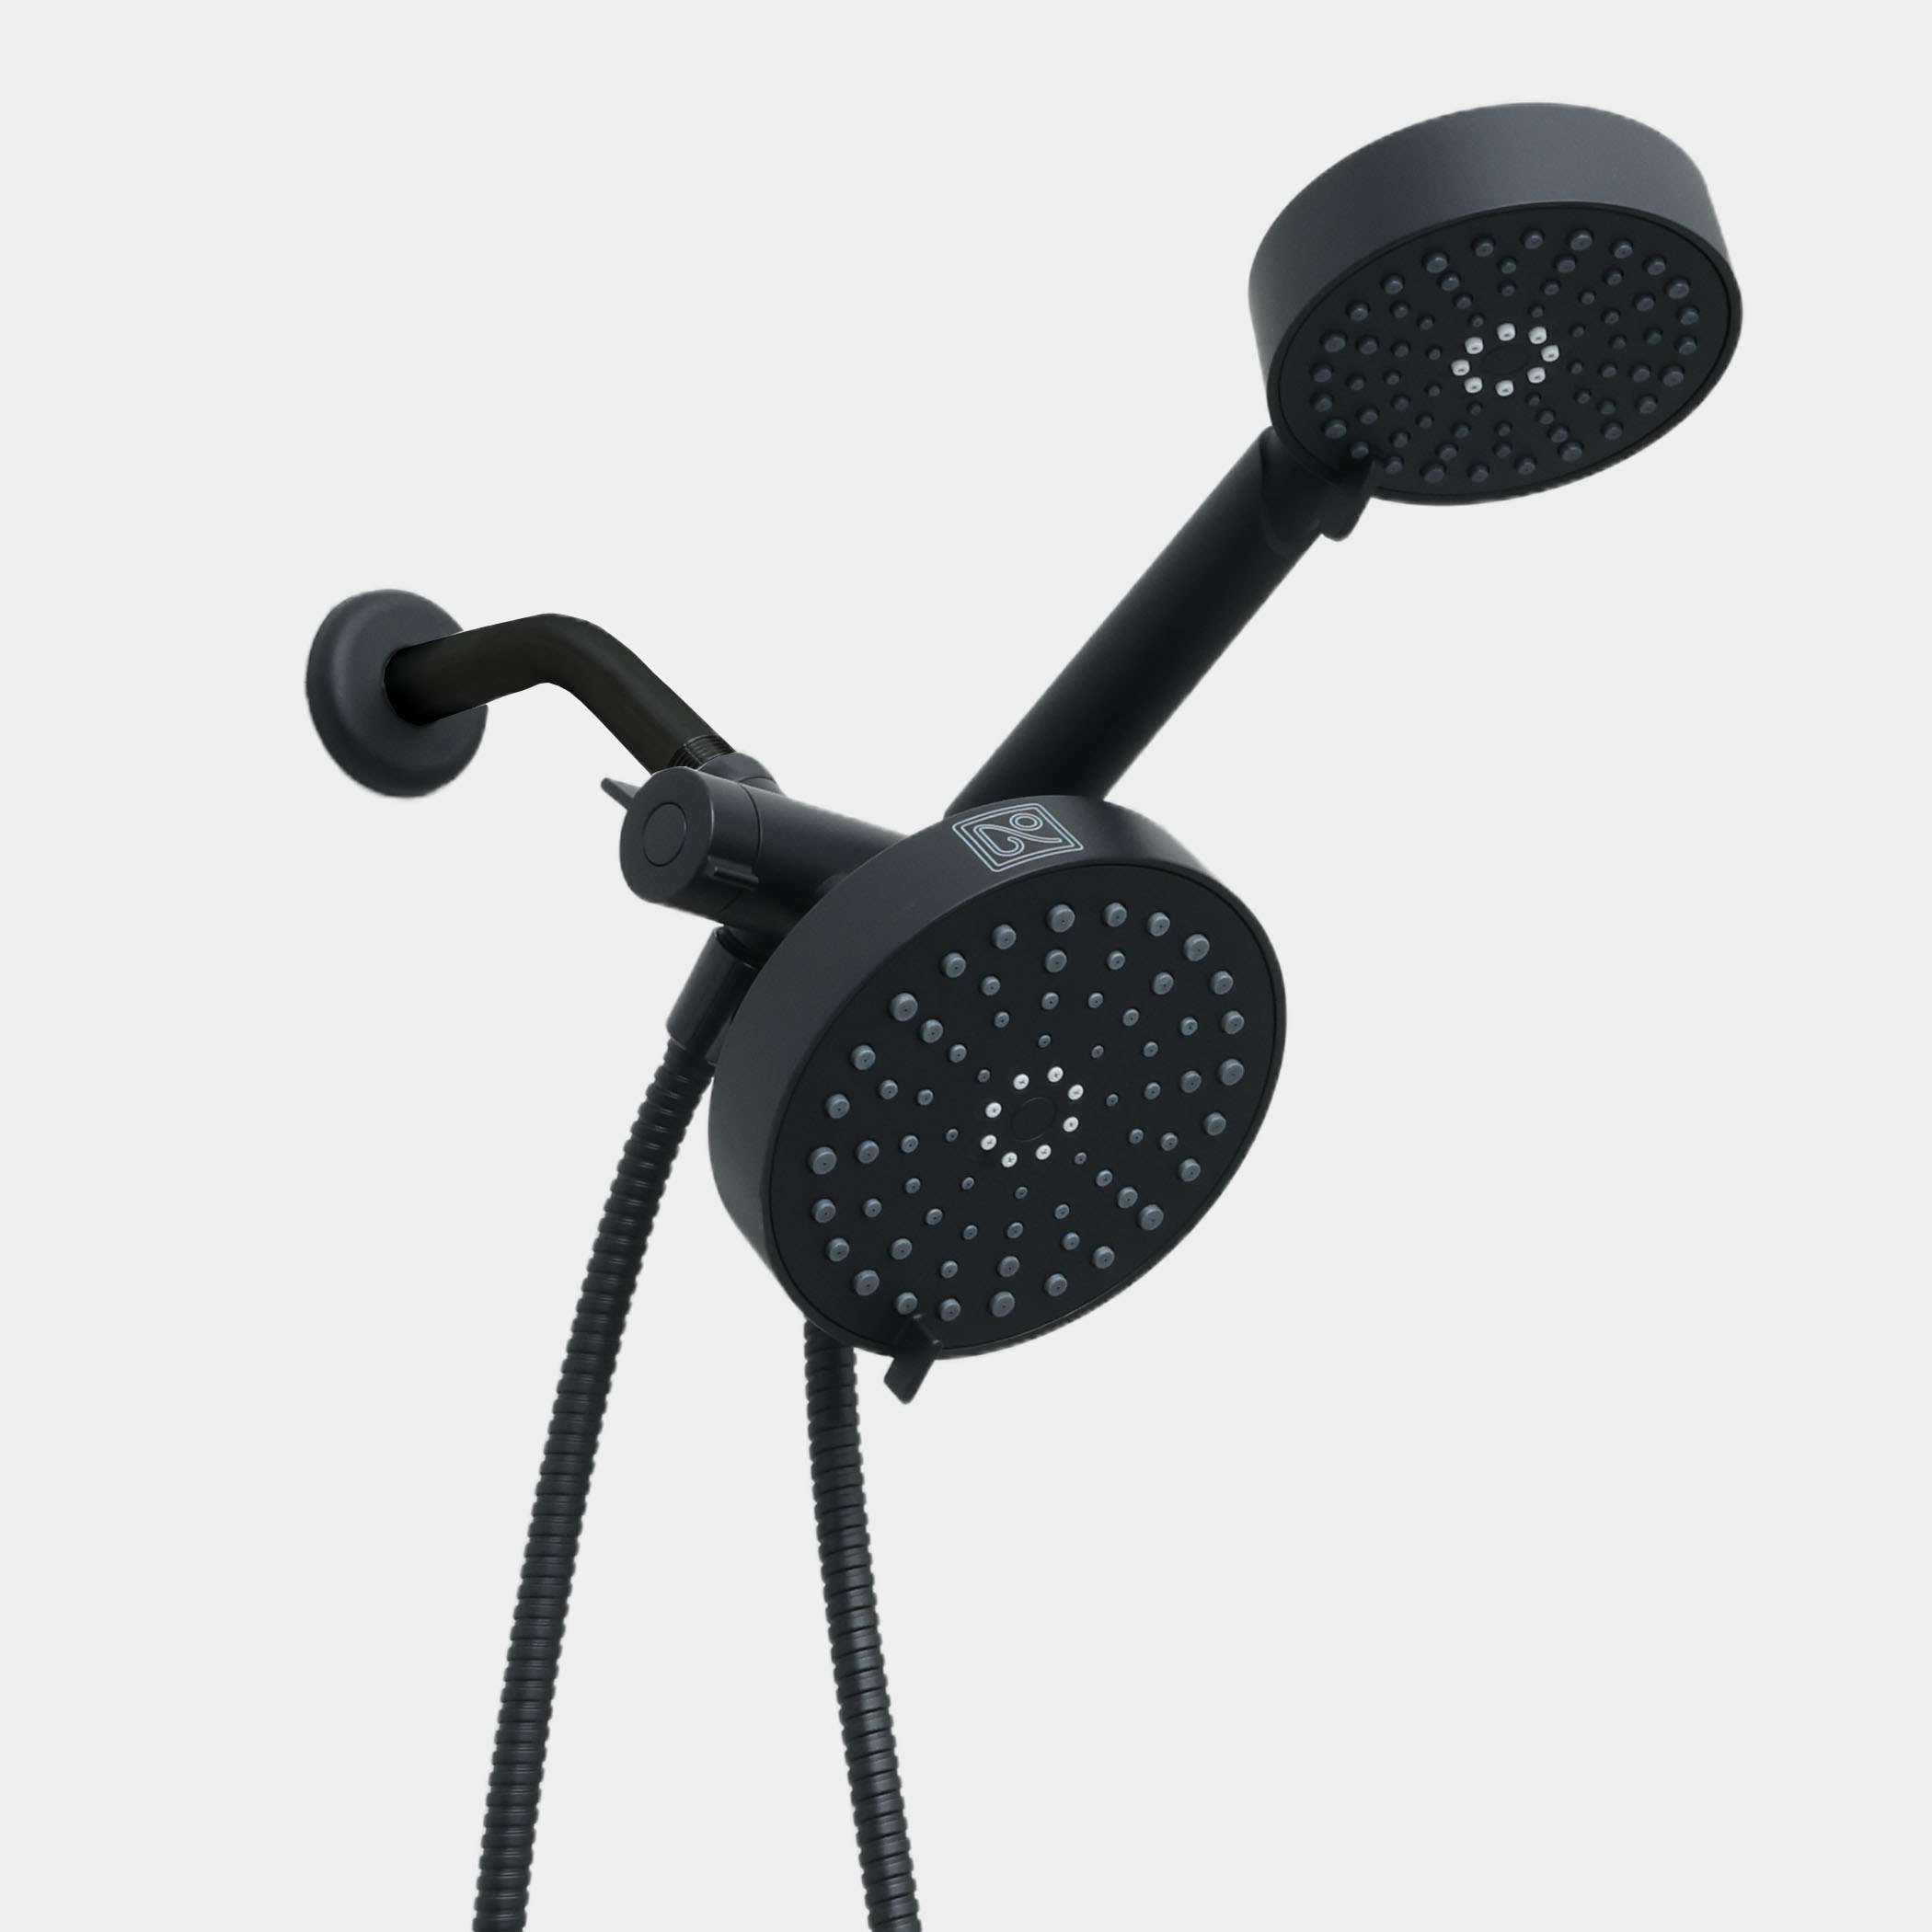




Duo Round Showerhead, Matte Black
 Chrome
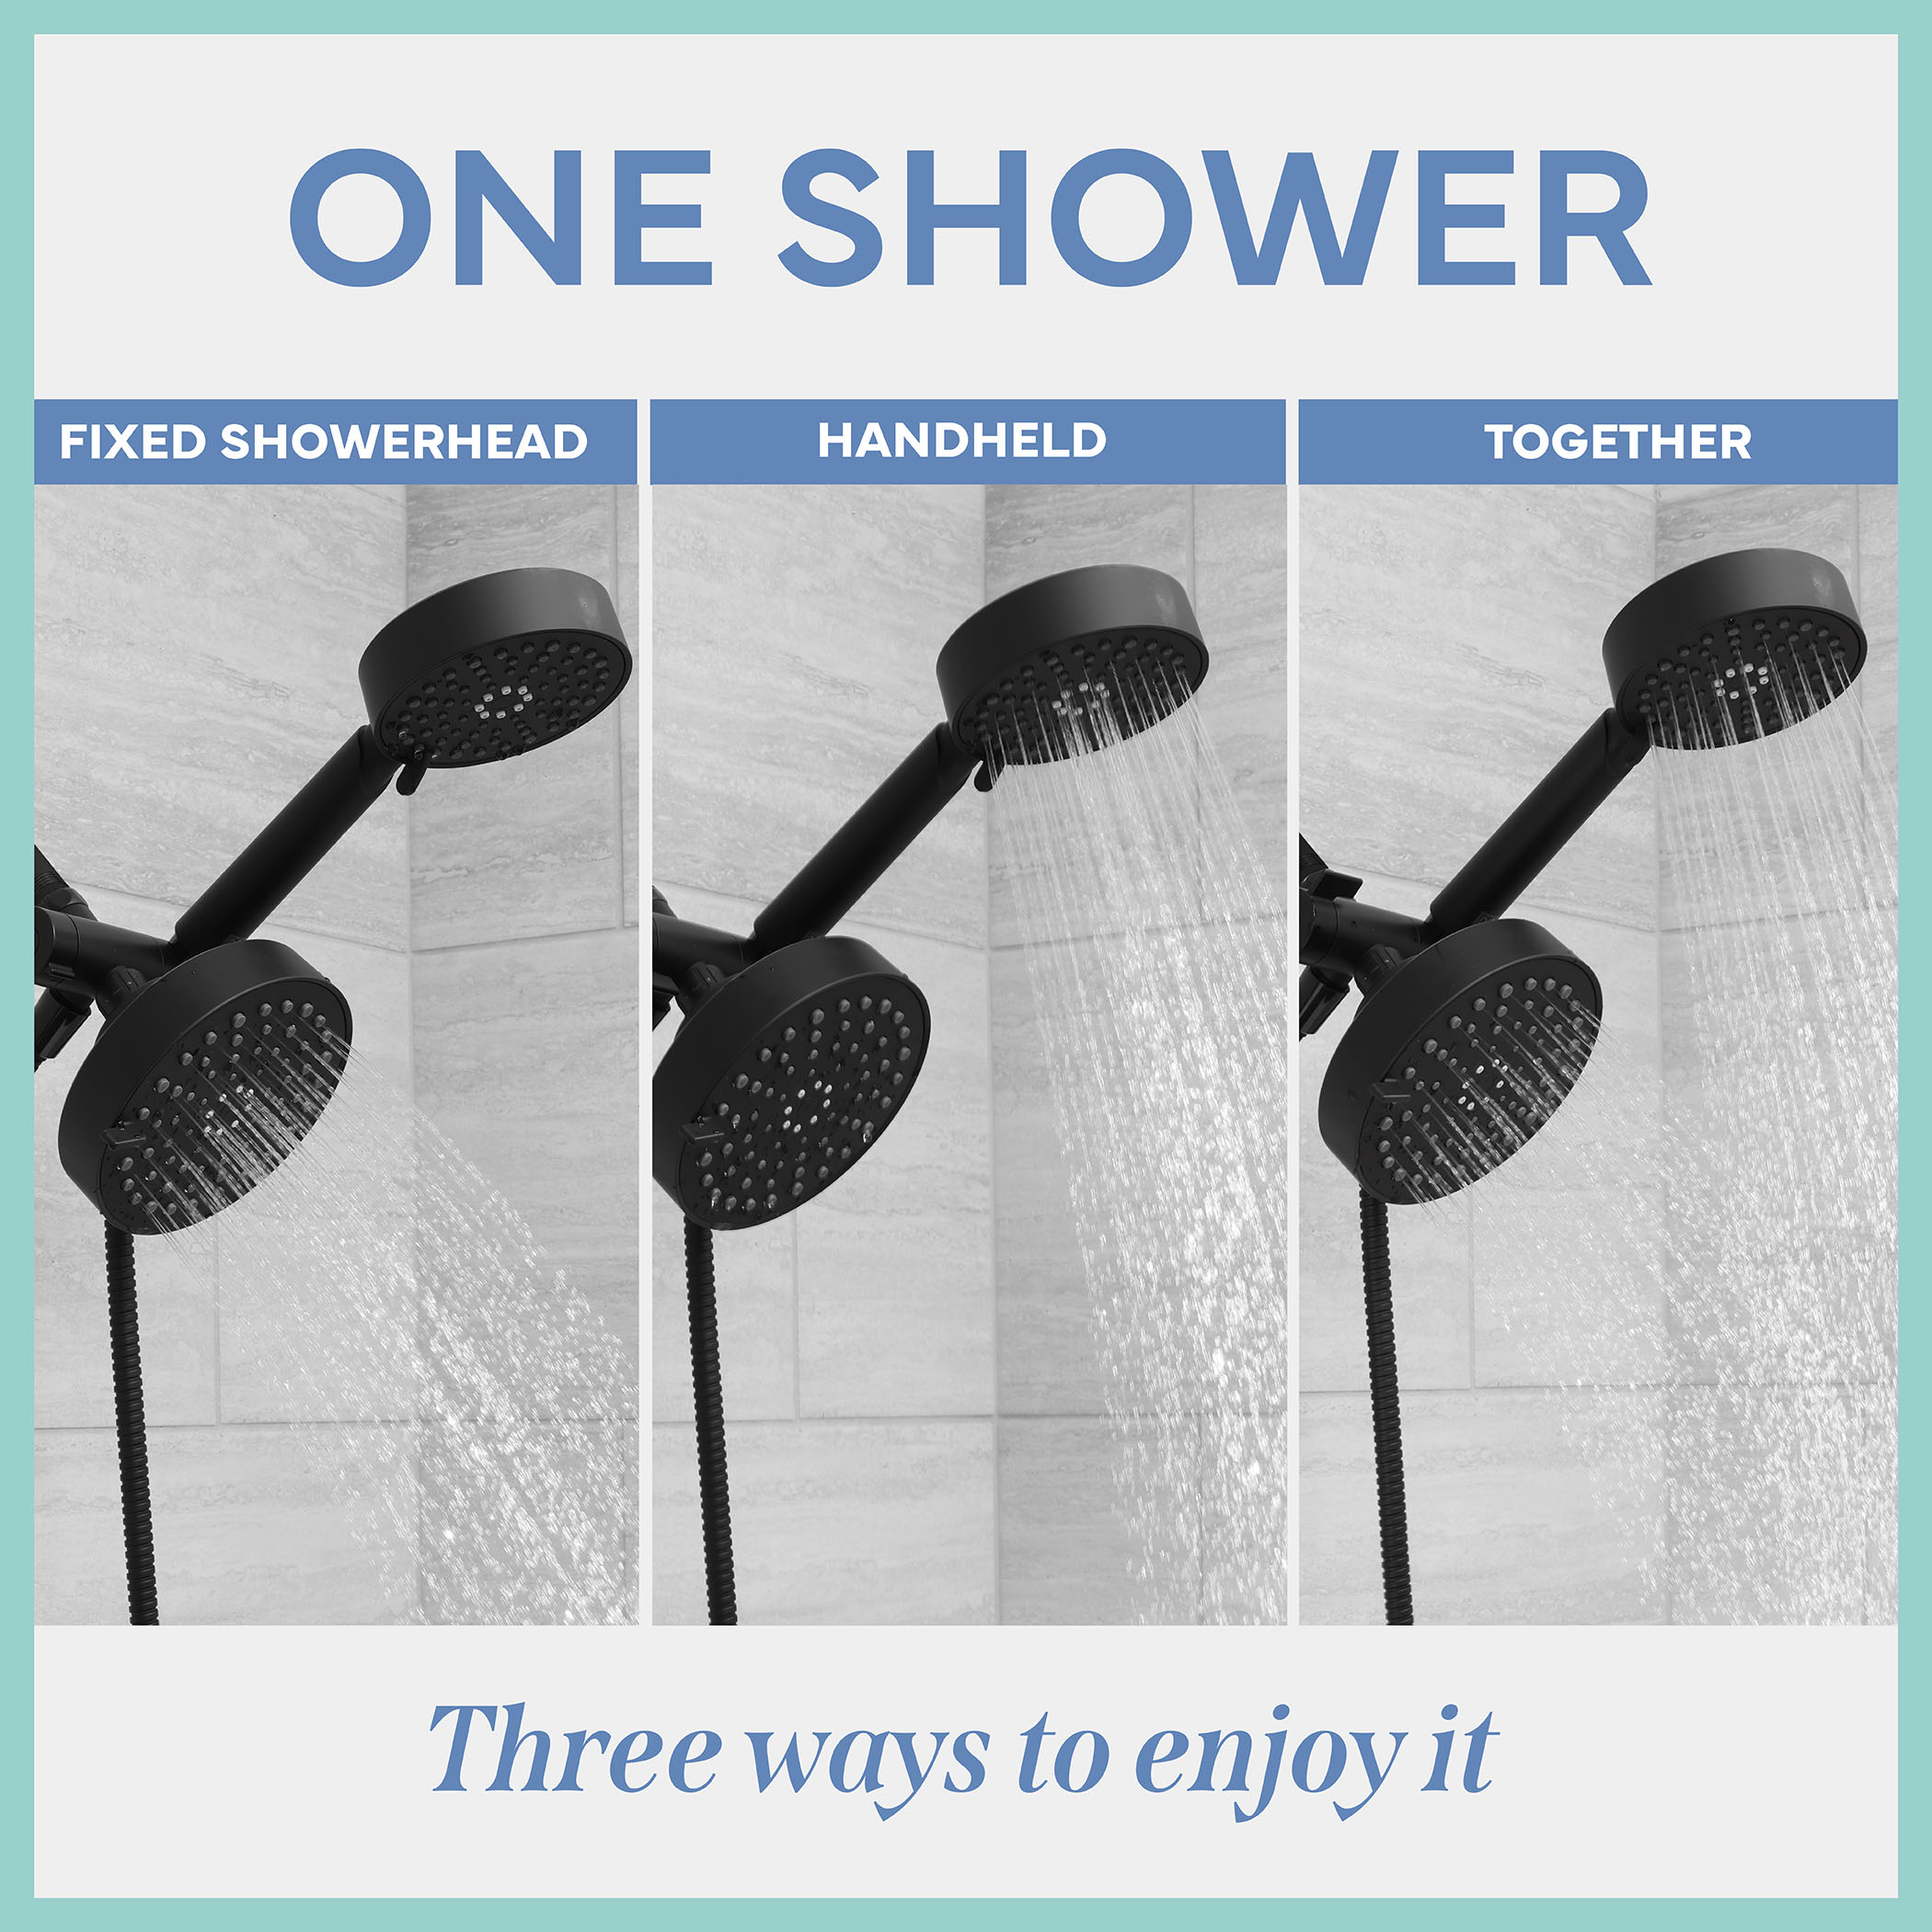
DUAL SHOWER HEAD, THREE WAYS TO SHOWER.
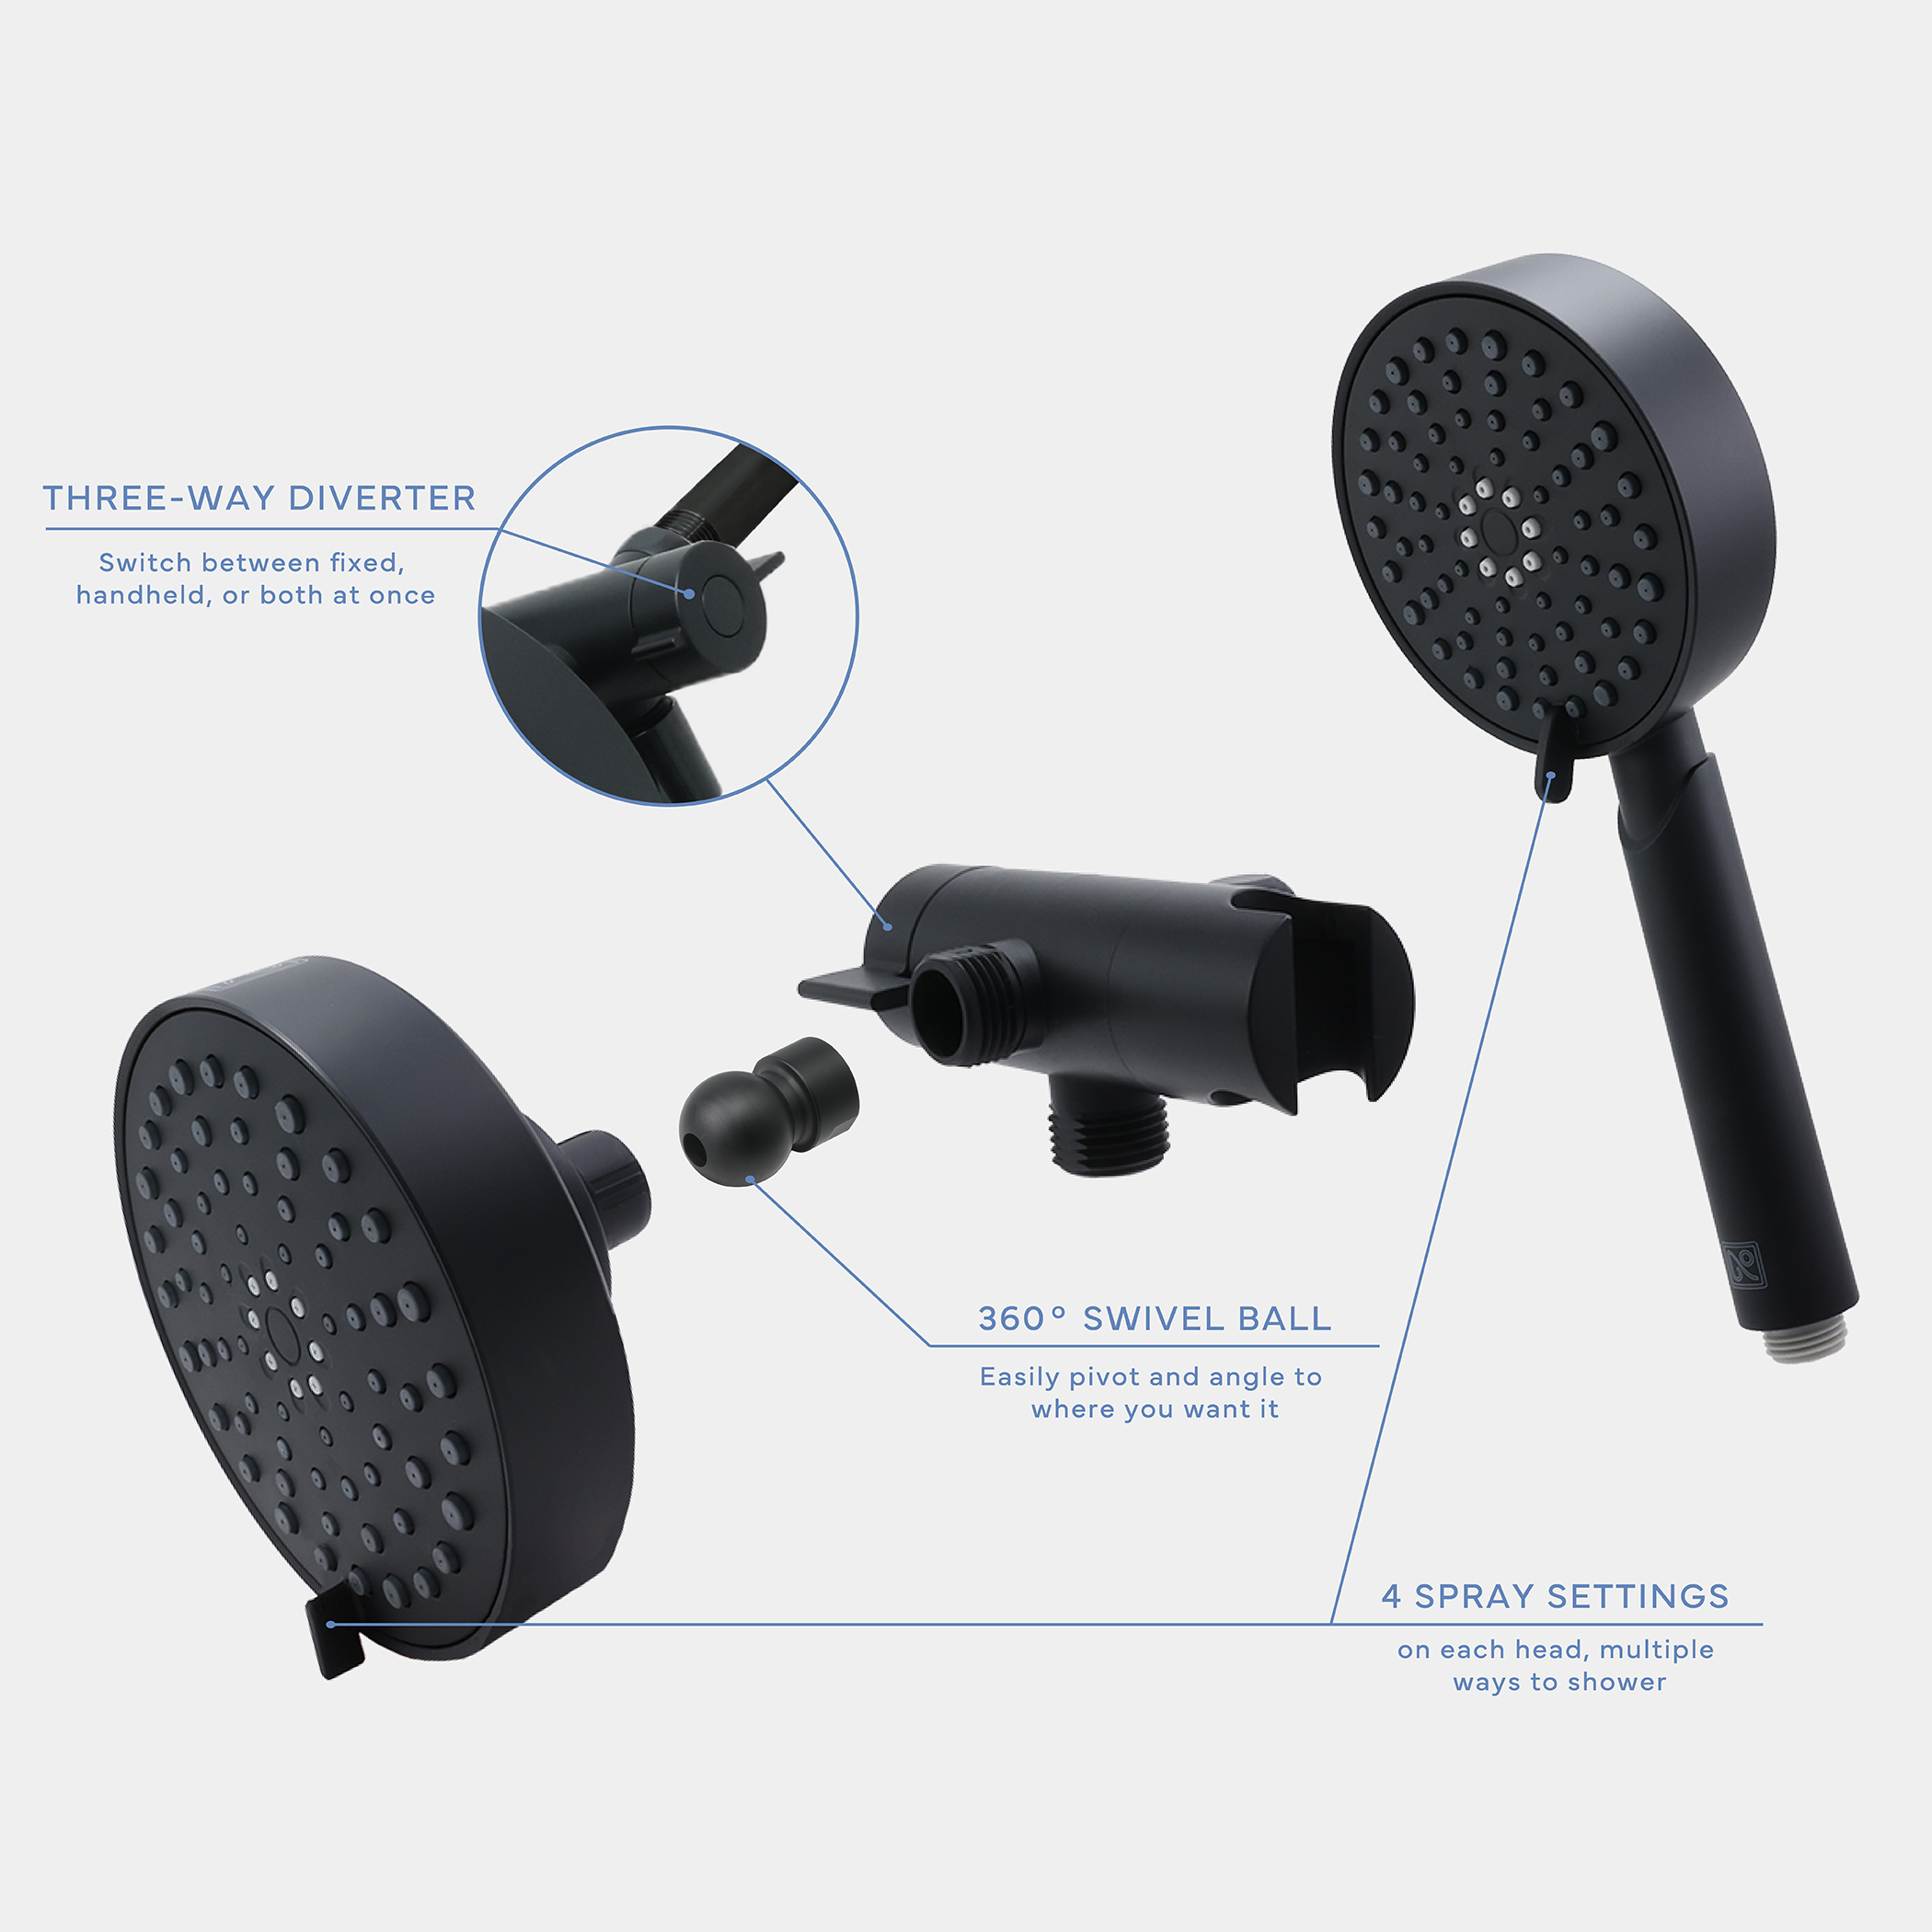
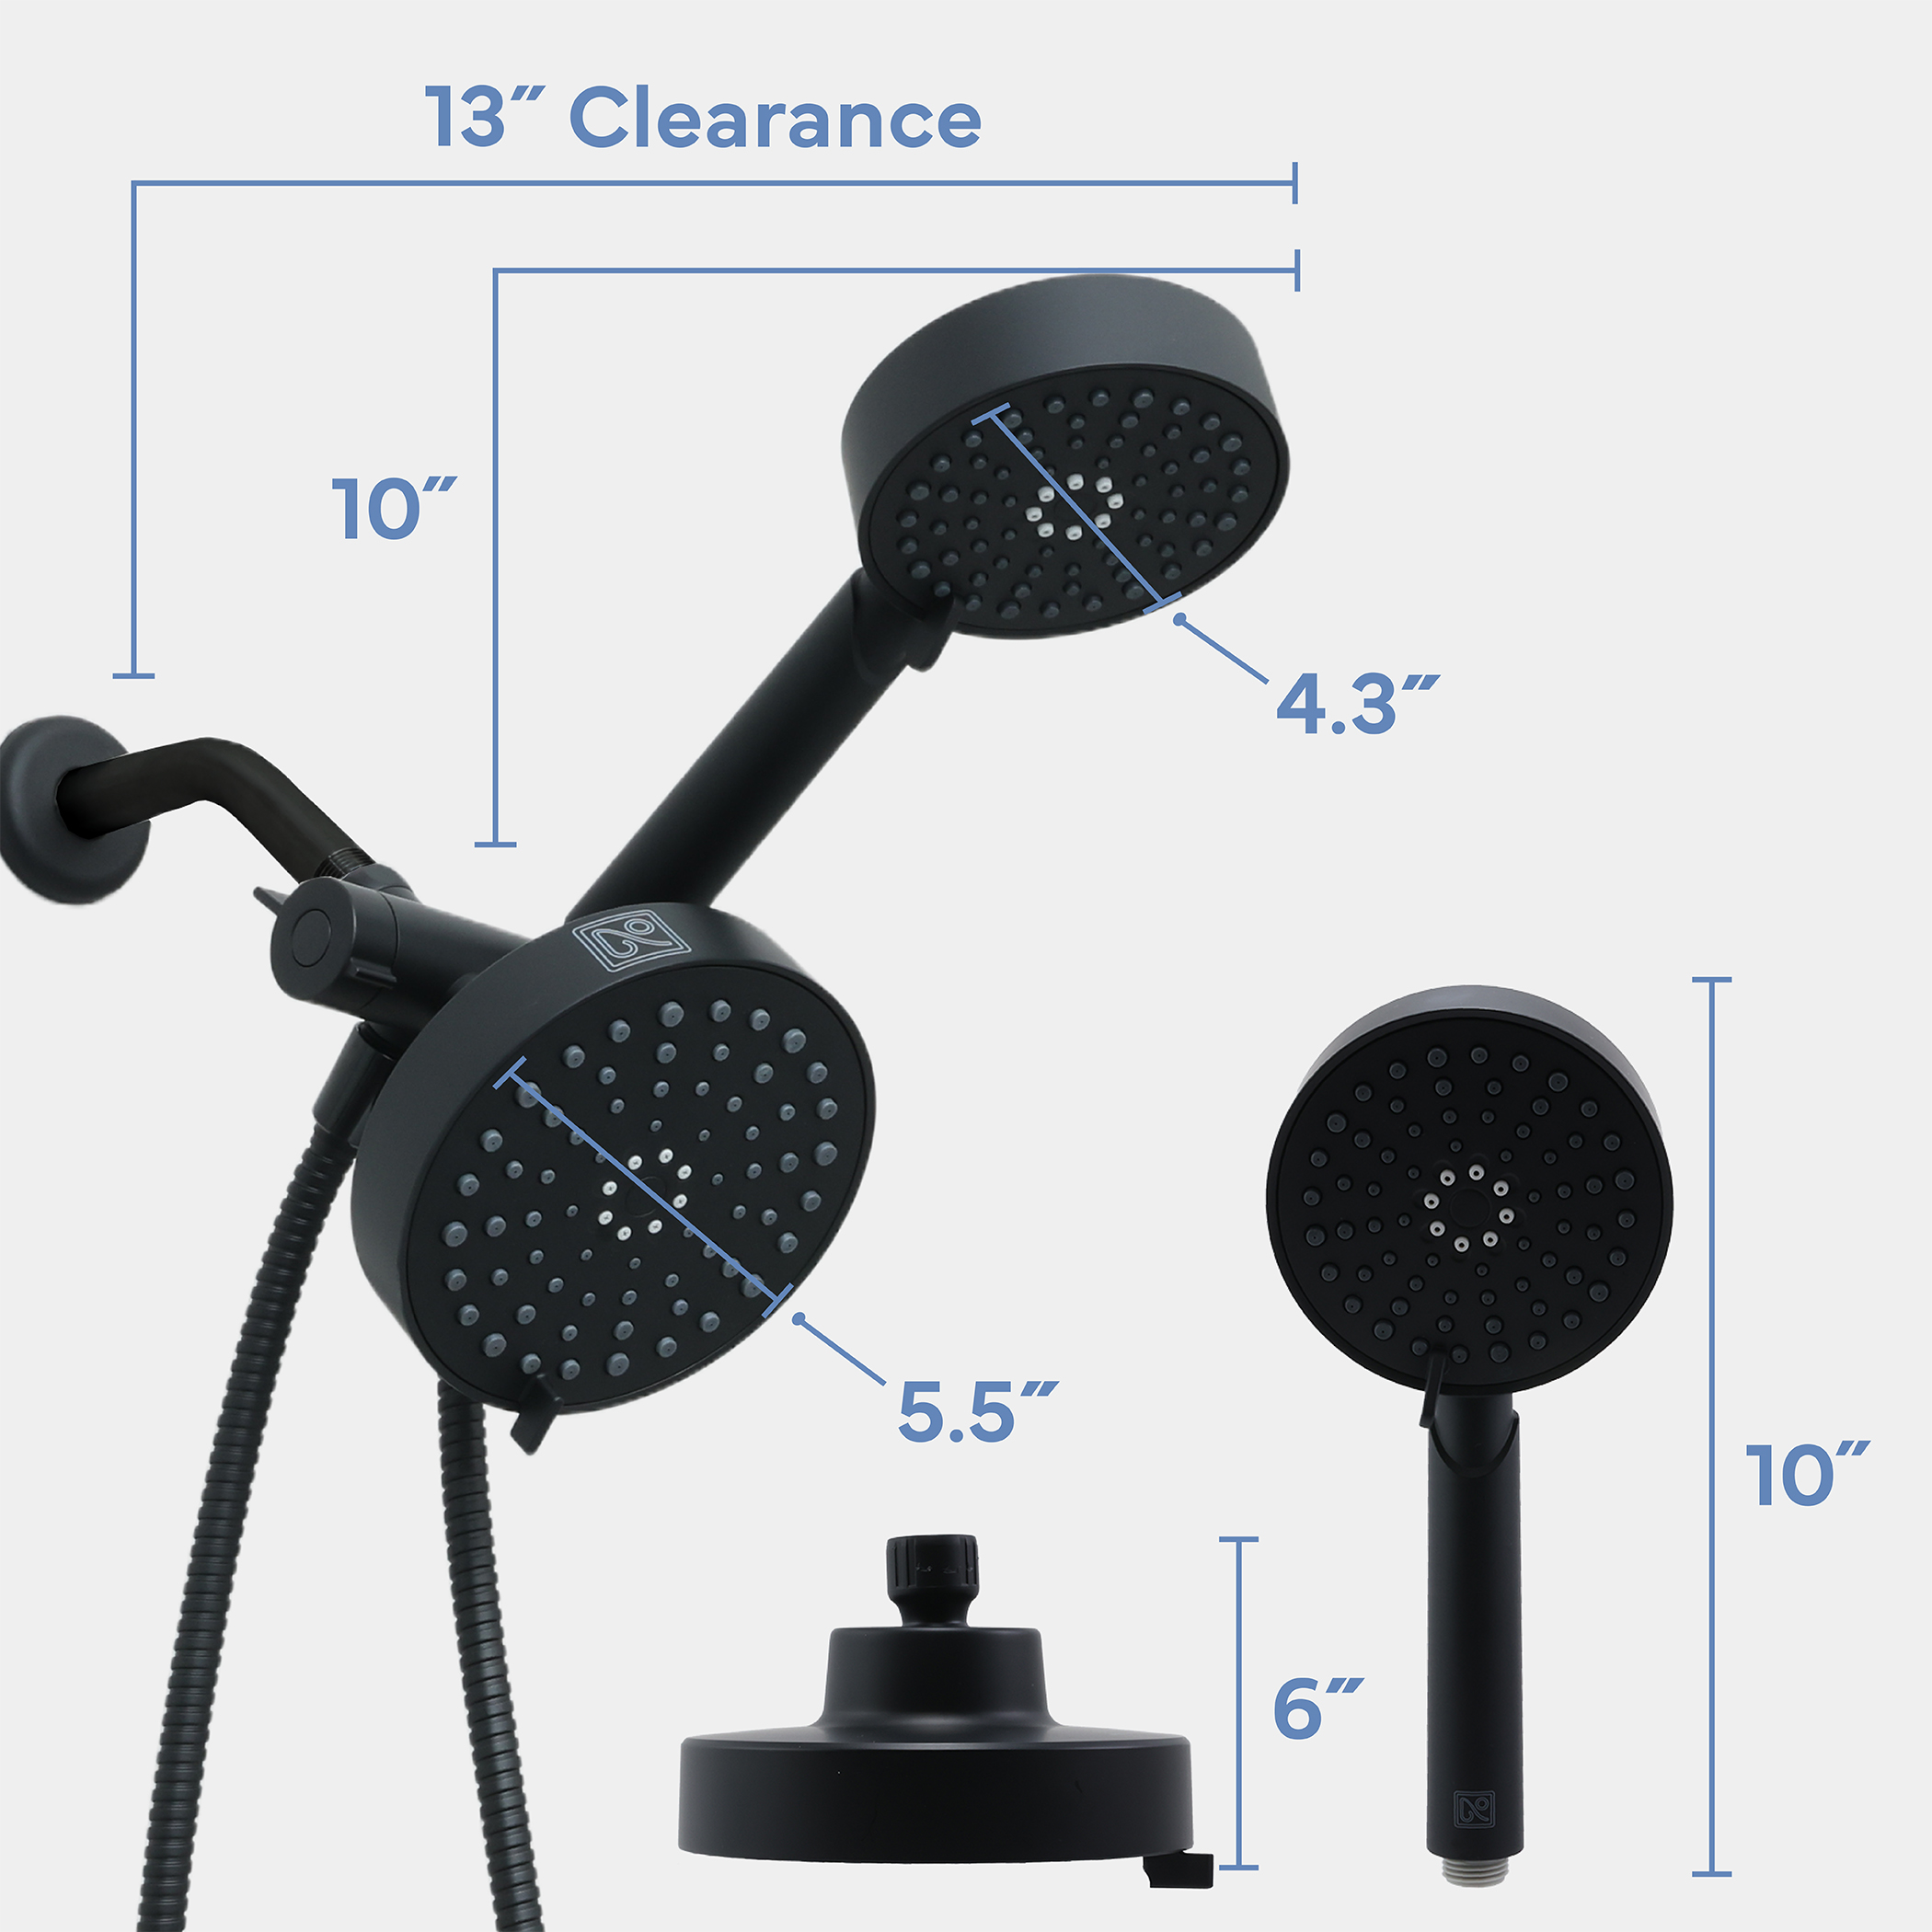
Combines a 5.5-inch fixed shower head and a 4.3-inch handheld shower head in one system; use the 3-way diverter to select the fixed head, handheld head, or both simultaneously
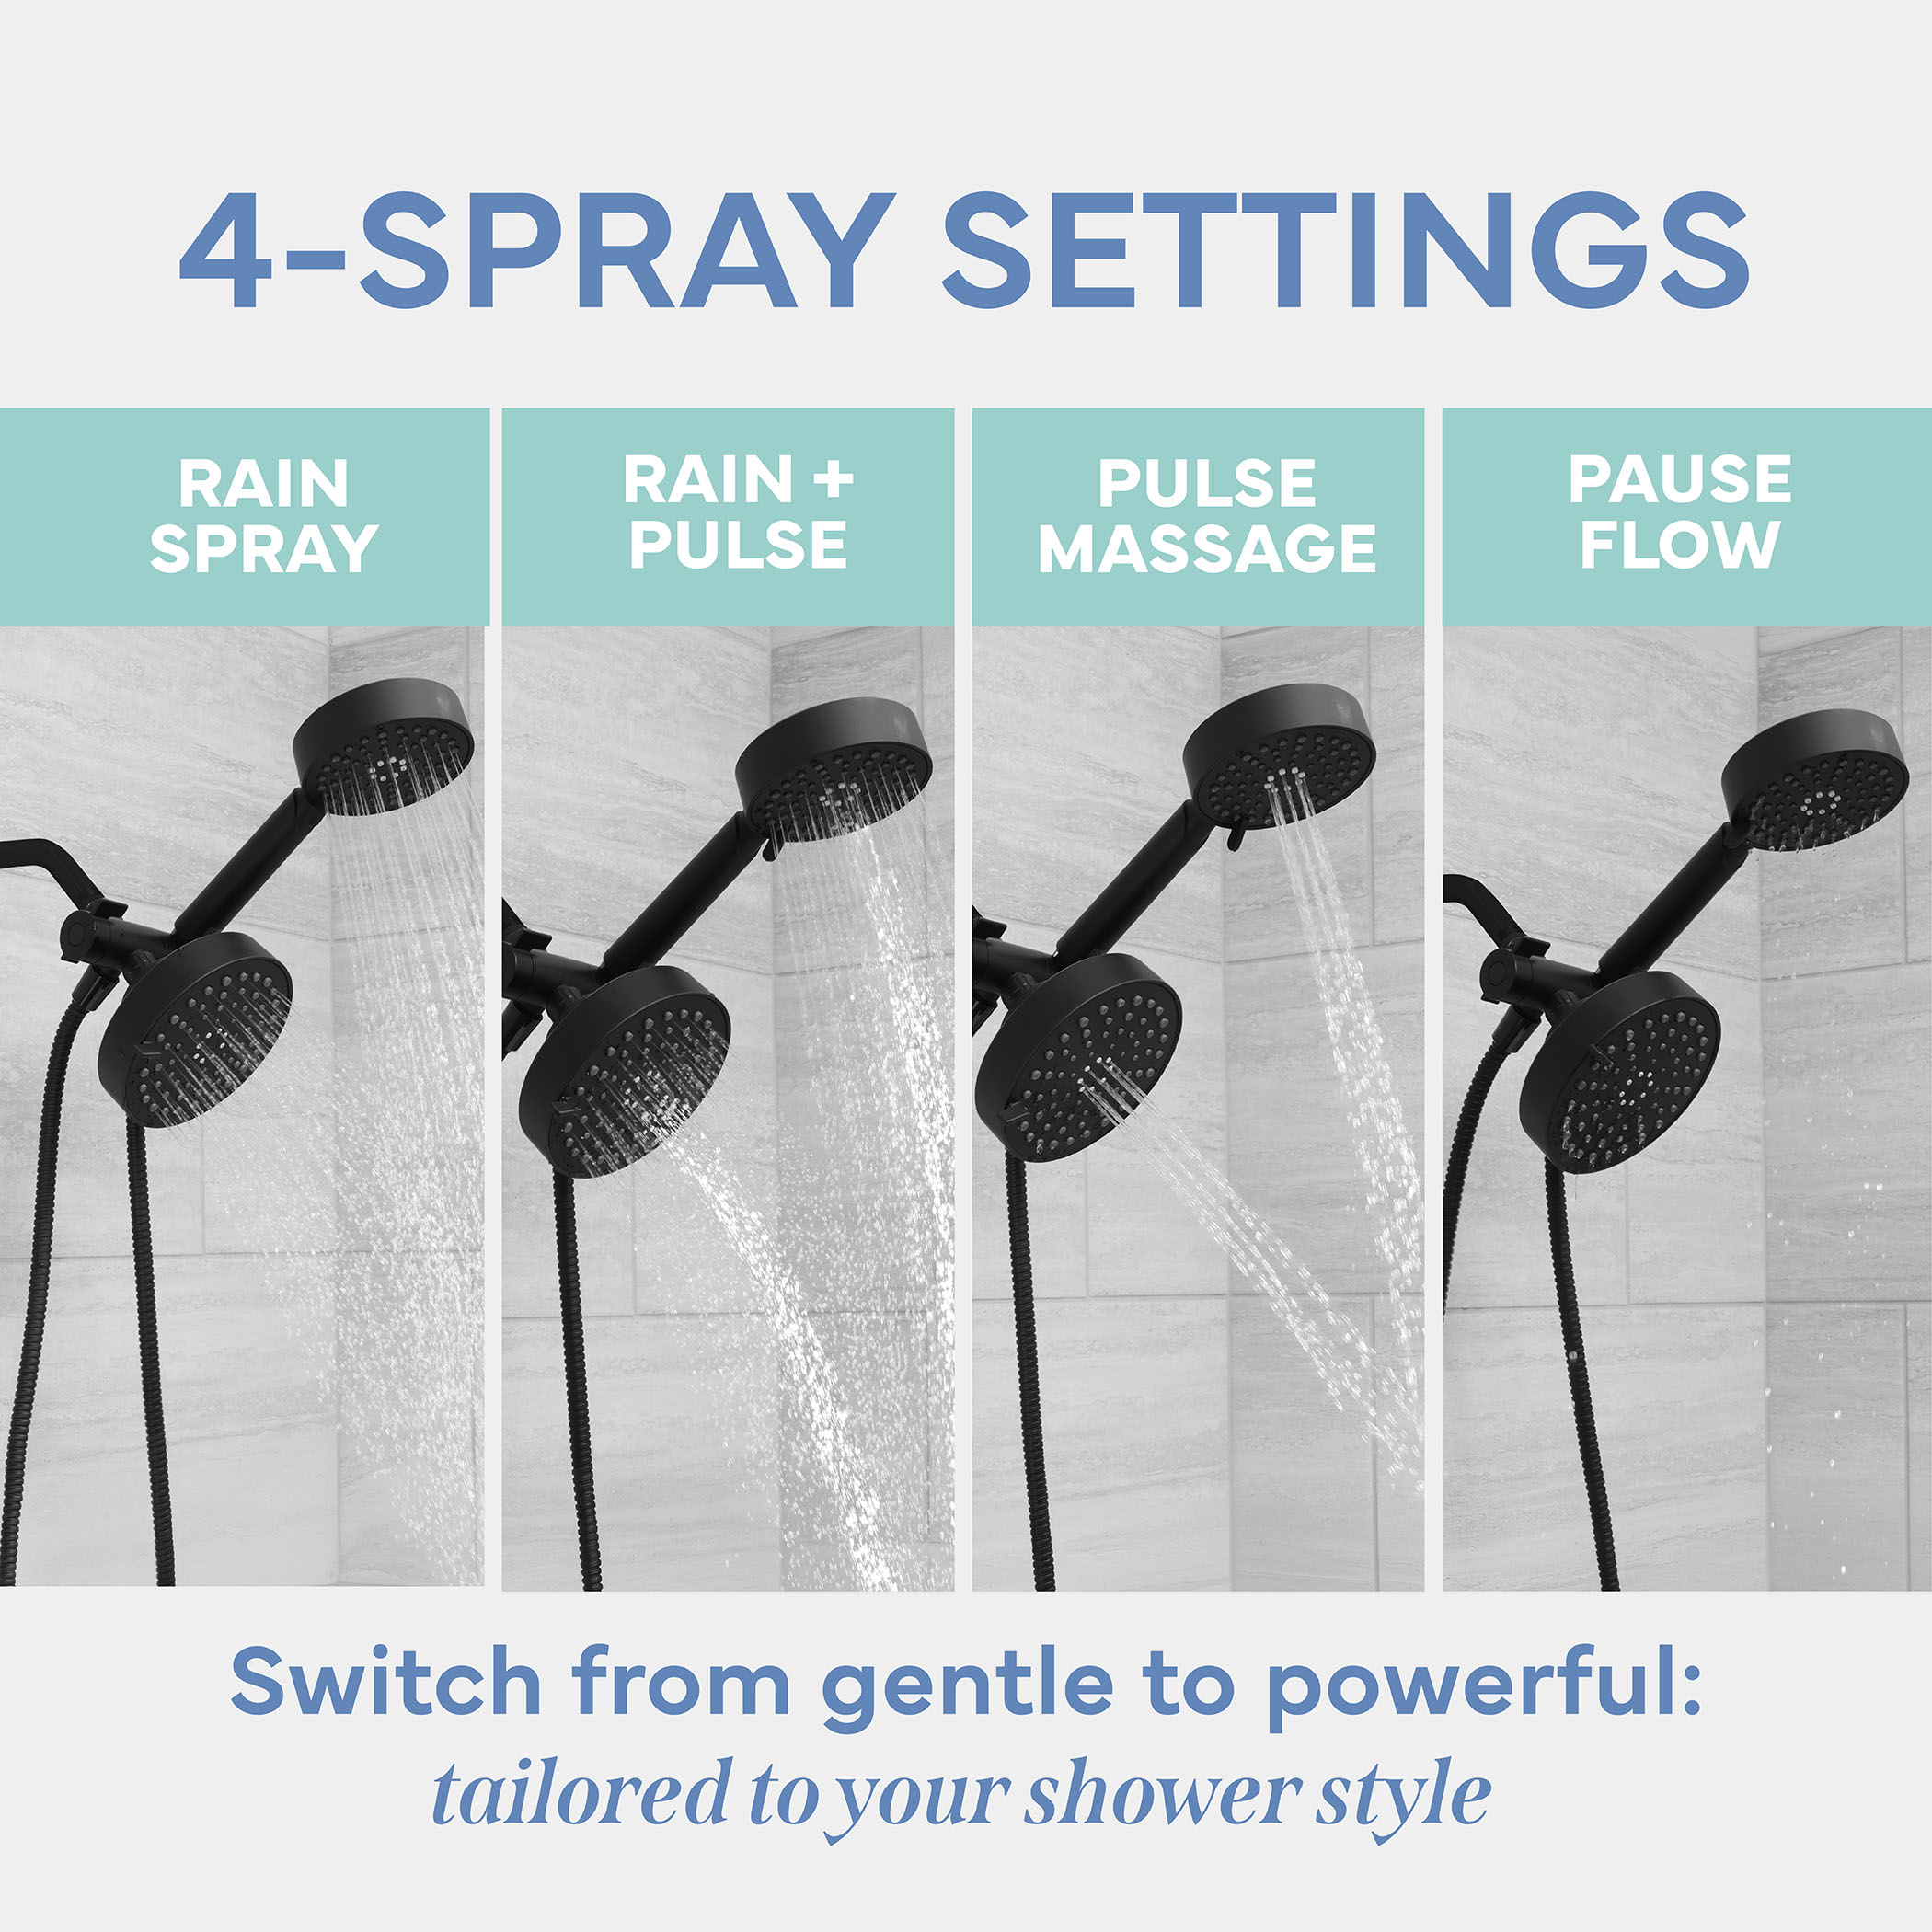
4 SPRAY SETTINGS ON BOTH SHOWER HEADS.
Restore Rain Spray, Recover Pulse Massage, Balance Rain + Pulse, or Rest Pause Flow
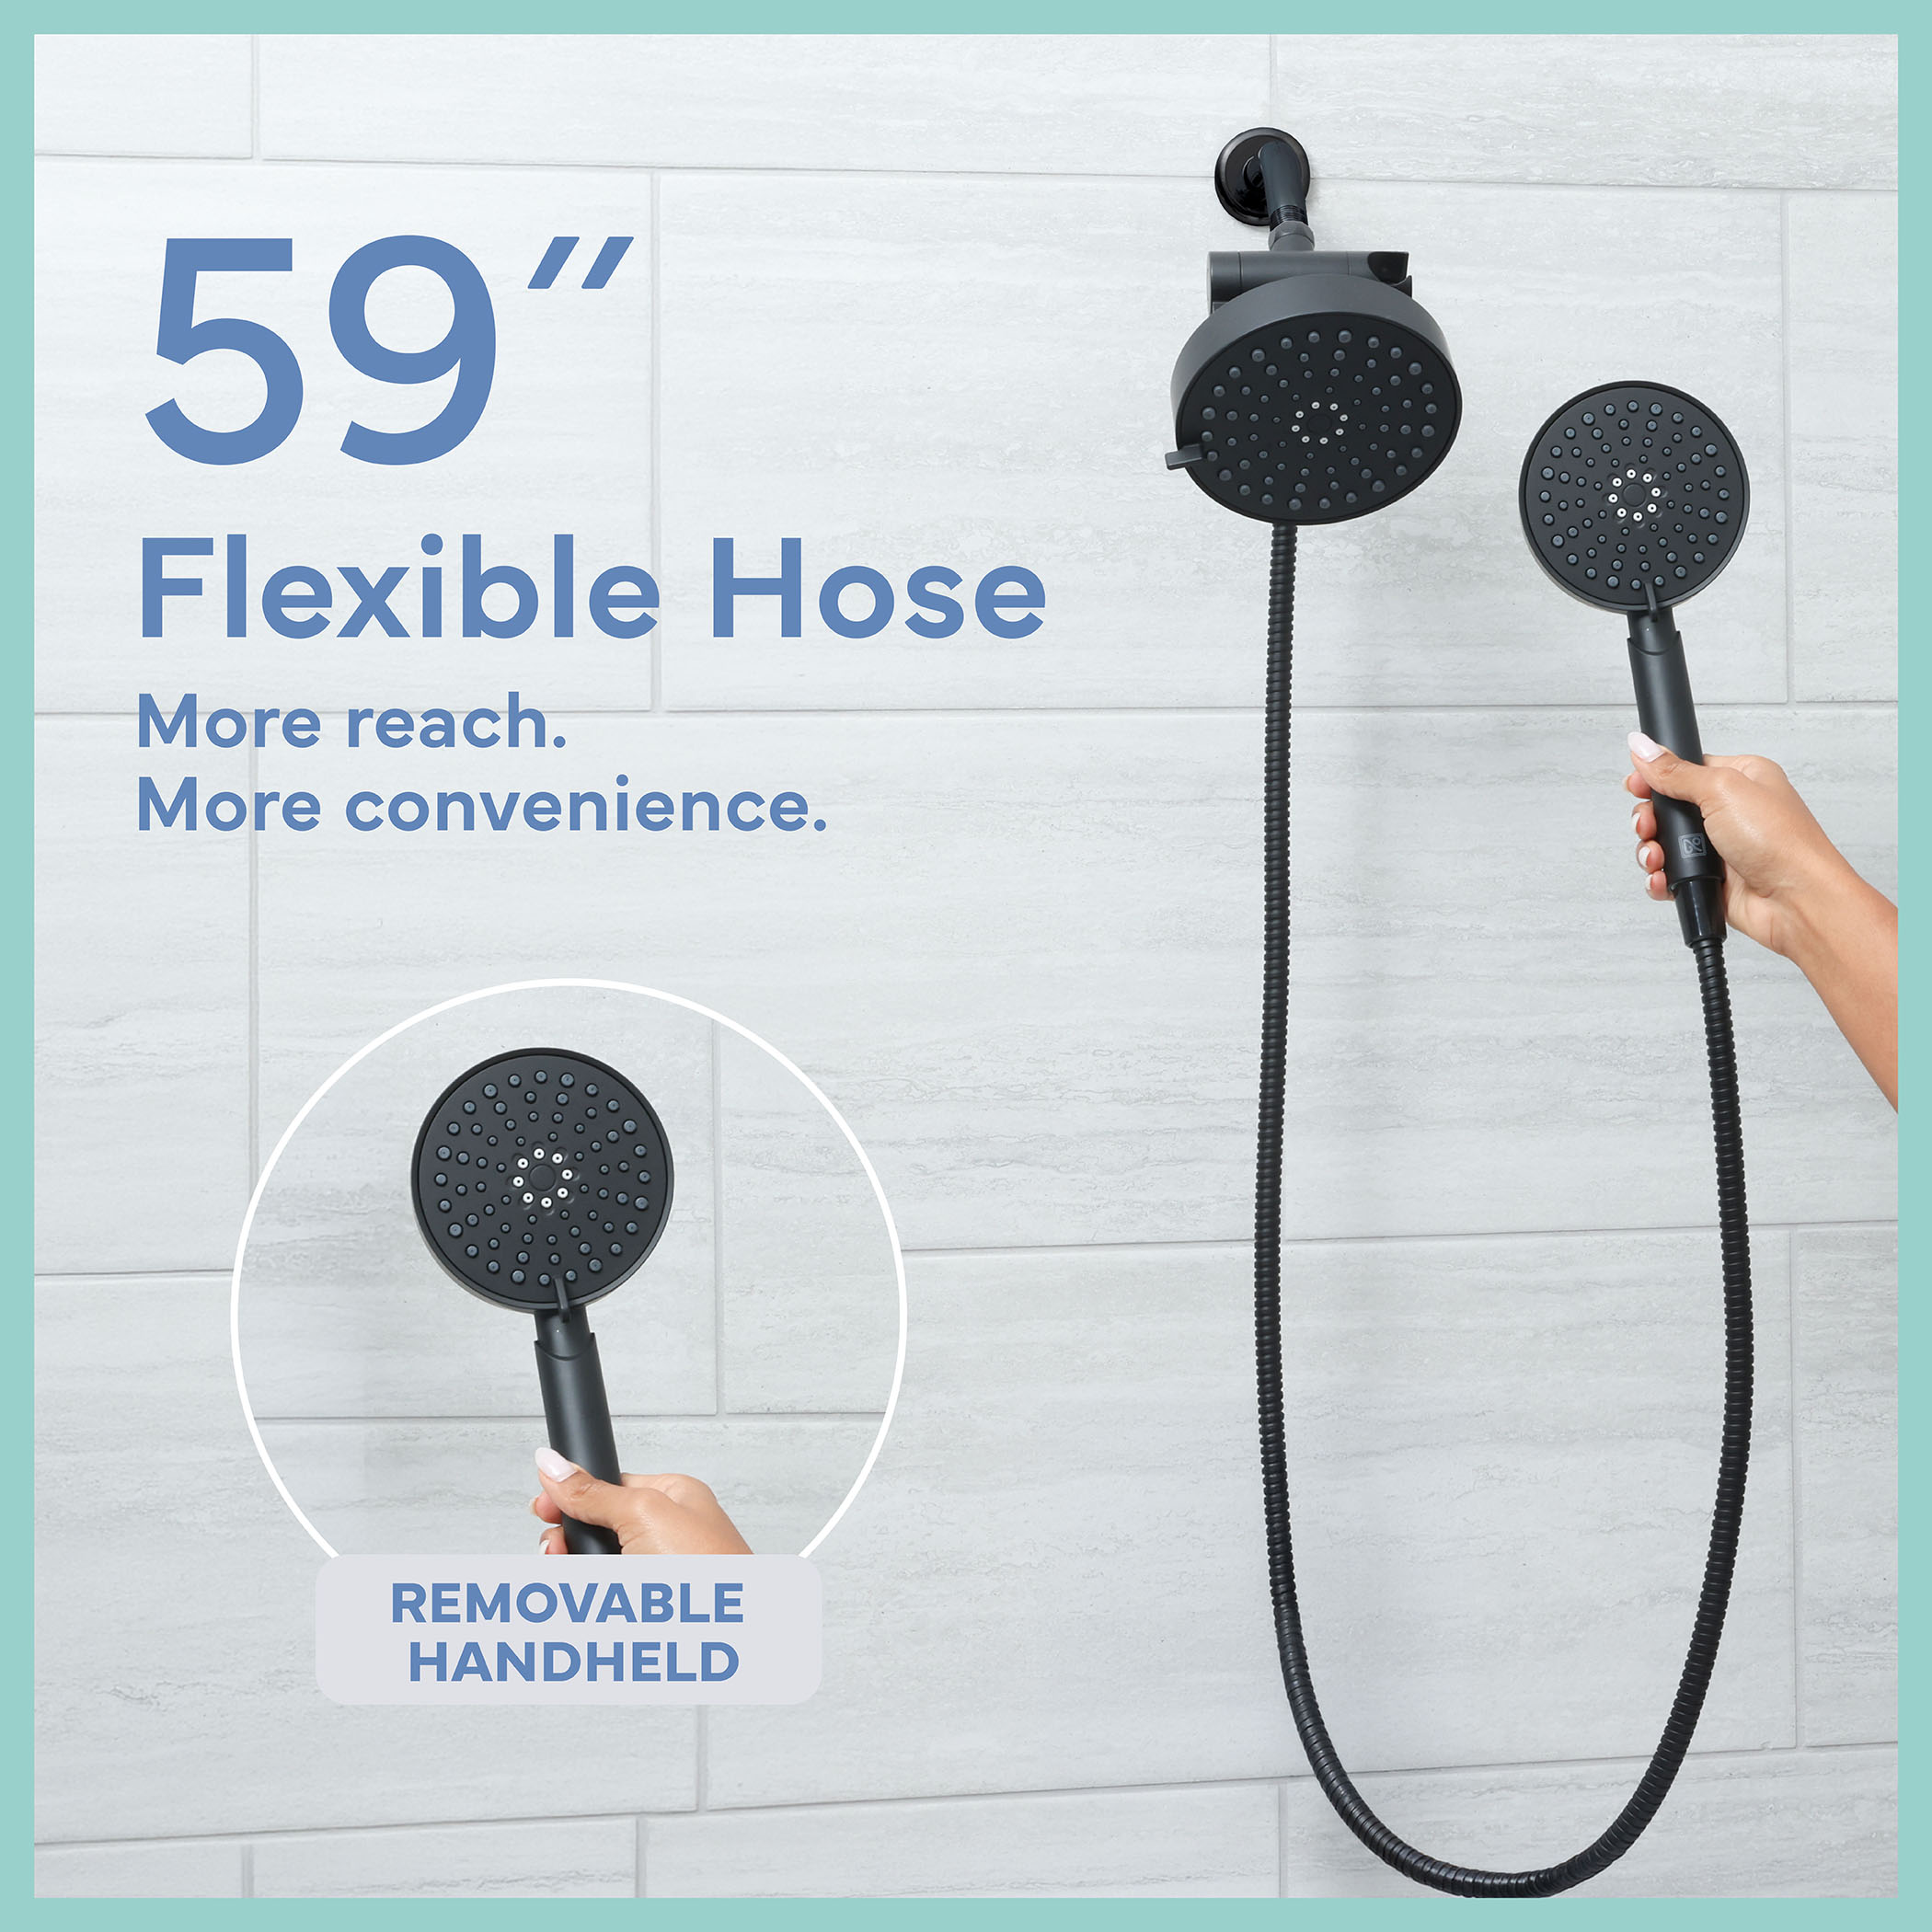
HANDHELD FOR KIDS, PETS + CLEANING.
Handheld shower head provides targeted water control
59-INCH STAINLESS STEEL HOSE.
For extended reach and maneuverability, making it easier to direct water where you need it
PREMIUM METAL FACEPLATES.
Durable construction and an elevated appearance designed to complement your bathroom
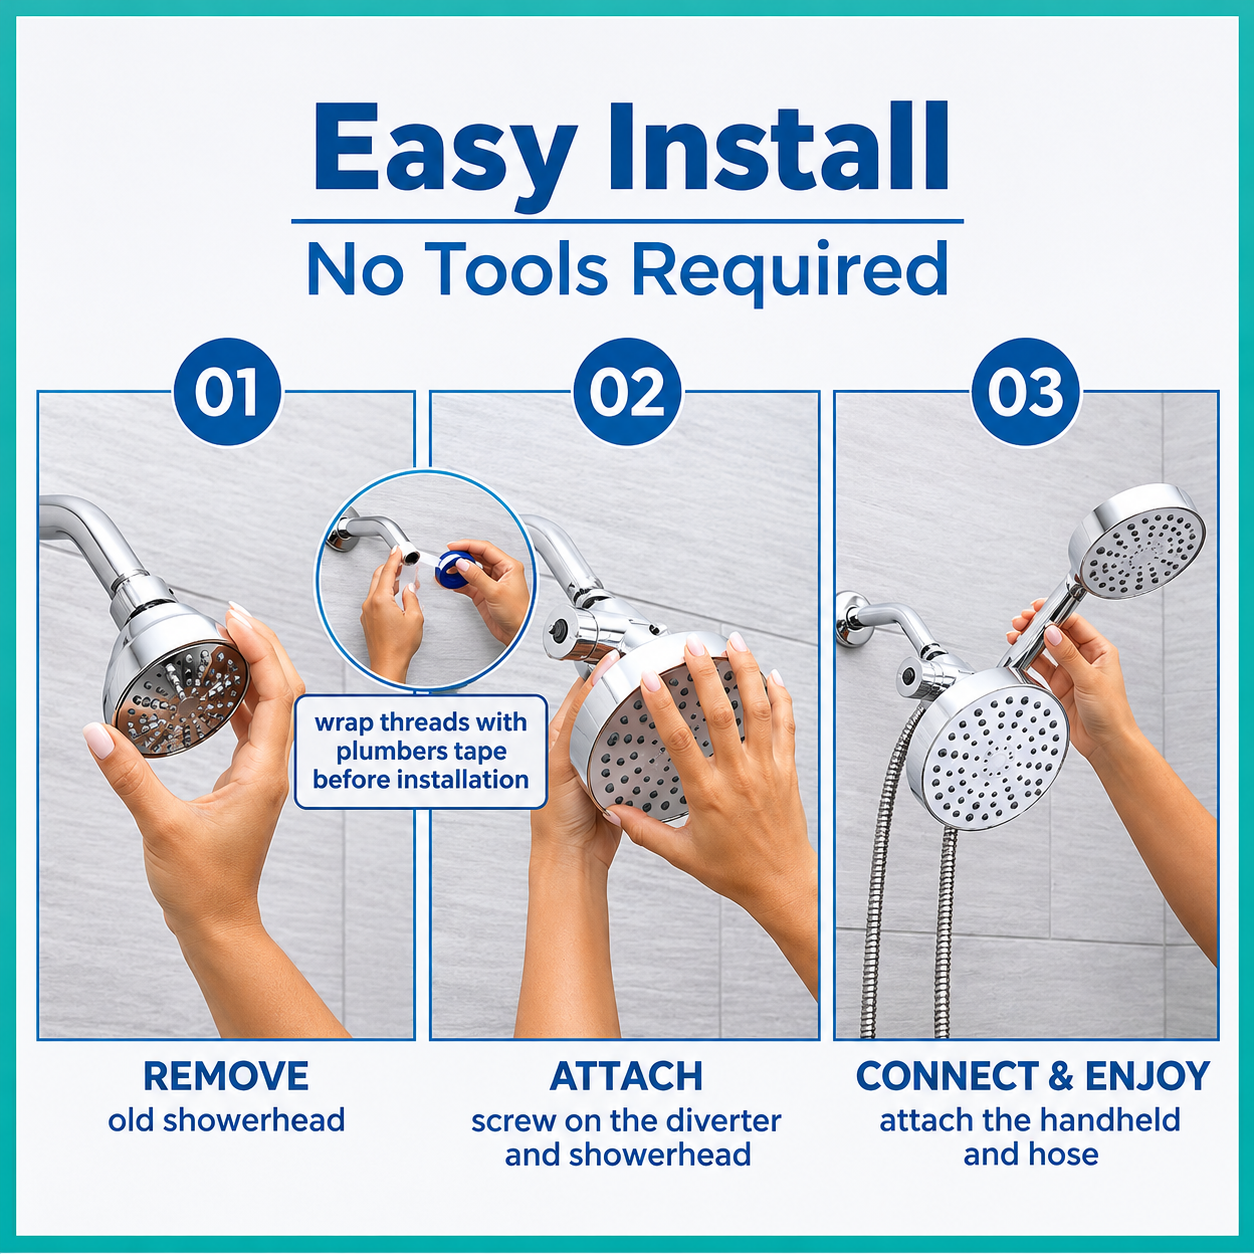
TOOL-FREE, UNIVERSAL INSTALLATION.
Installs without tools using a standard 1/2-inch shower connection
WATERSENSE CERTIFIED.
1.8 GPM flow rate for water-efficient performance
Step 1: Step 1: Remove Existing Showerhead
Unscrew counterclockwise. For best results, clean the pipe threads of any sealant or tape.
Step 2: Step 2: Apply Plumber’s Tape to Shower Arm Pipe Threads
Wrap tape clockwise, in the same direction the showerhead will be rotated during installation, with 2–4 complete revolutions.
Step 3: Step 3: Attach the Diverter
Confirm the washer is pre-inserted into the fixed-mount showerhead. Attach the diverter to the shower arm and hand-tighten. Do not overtighten.
Step 4: Step 4: Attach the Seventy Duo Fixed Showerhead
Attach the new Seventy Duo Fixed Showerhead to the front pipe on top of the diverter and hand-tighten. Do not overtighten.
Step 5: Step 5: Attach the Shower Hose & Handheld
Attach one end of the included shower hose to the bottom of the diverter and the other onto the handheld showerhead. Hand-tighten both connections; do not overtighten. Adjust the bracket to your desired position on the diverter before attaching the handheld showerhead. Once set, place the handheld showerhead into the bracket.
Step 6: Step 6: Final Step
Clear the work area, turn on the shower, and check for leaks. If any leakage occurs, turn off the water and further tighten the connections. If leaking persists at the shower arm, remove the filter body, replace the plumber’s tape, and repeat steps 2 and 3.
